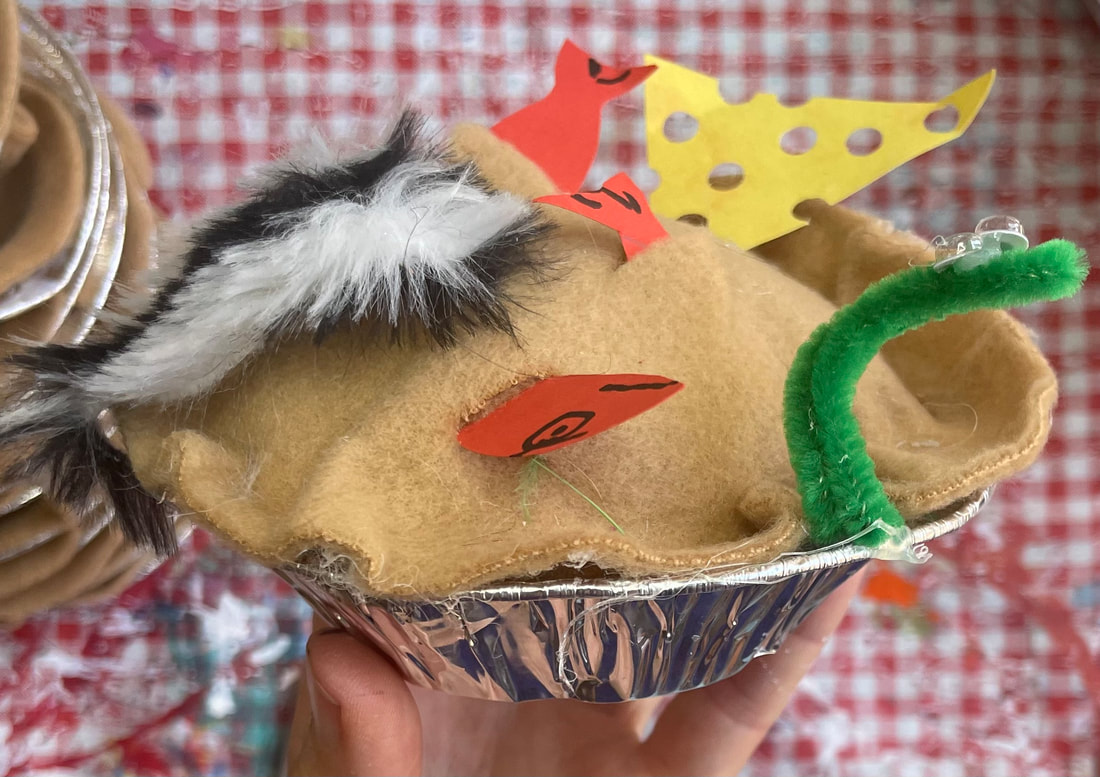
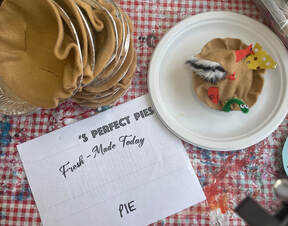
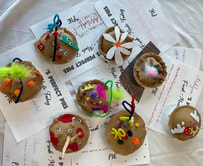
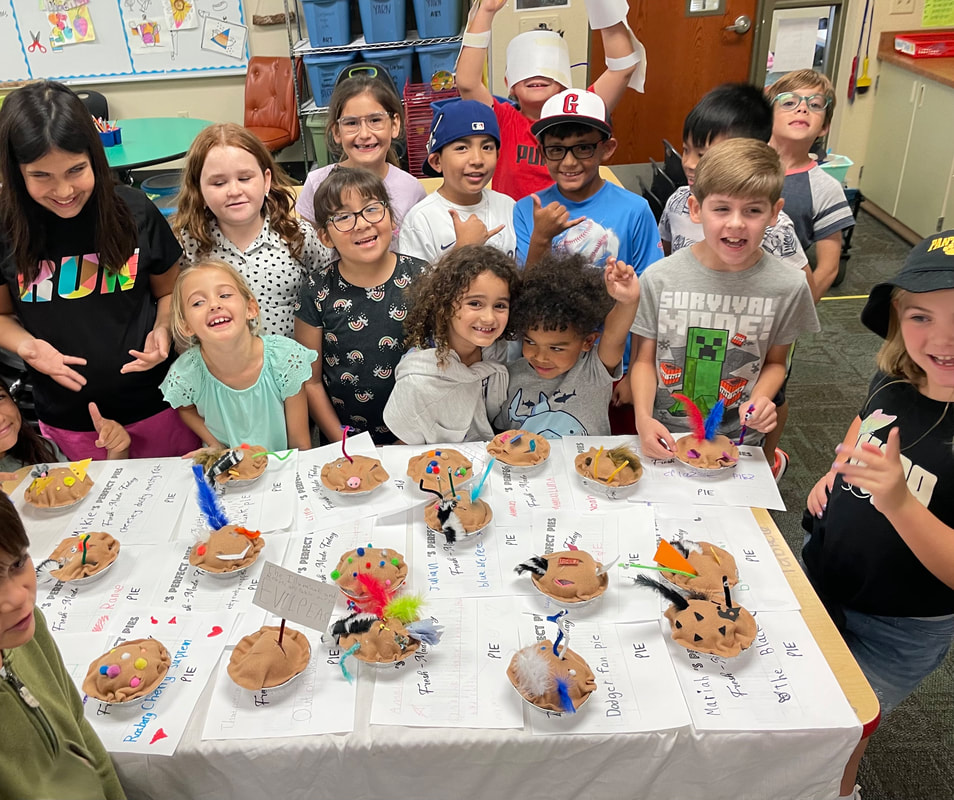
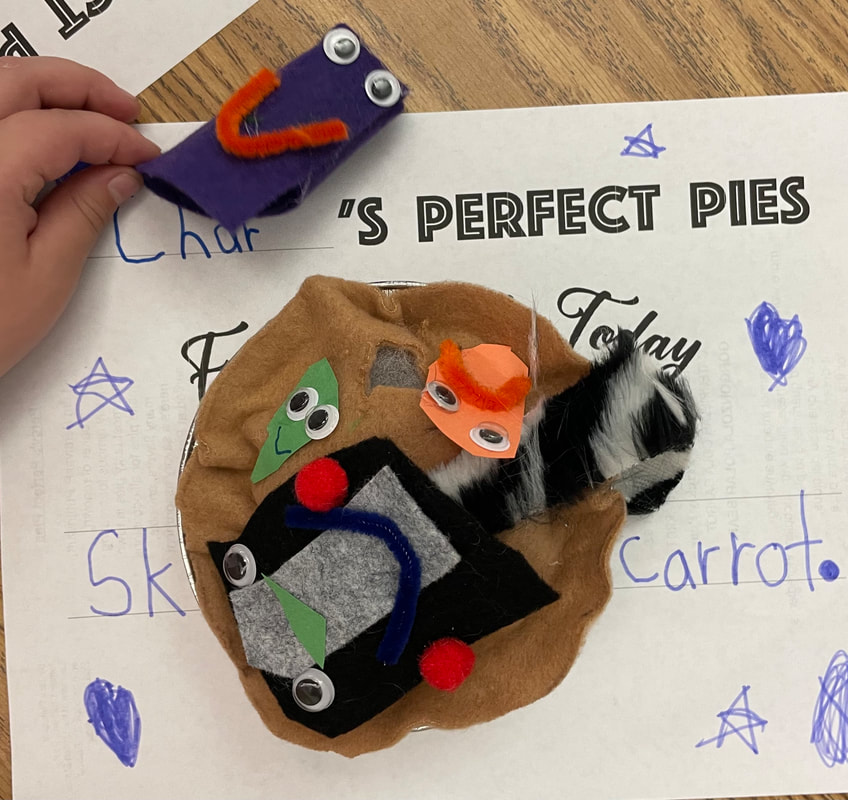
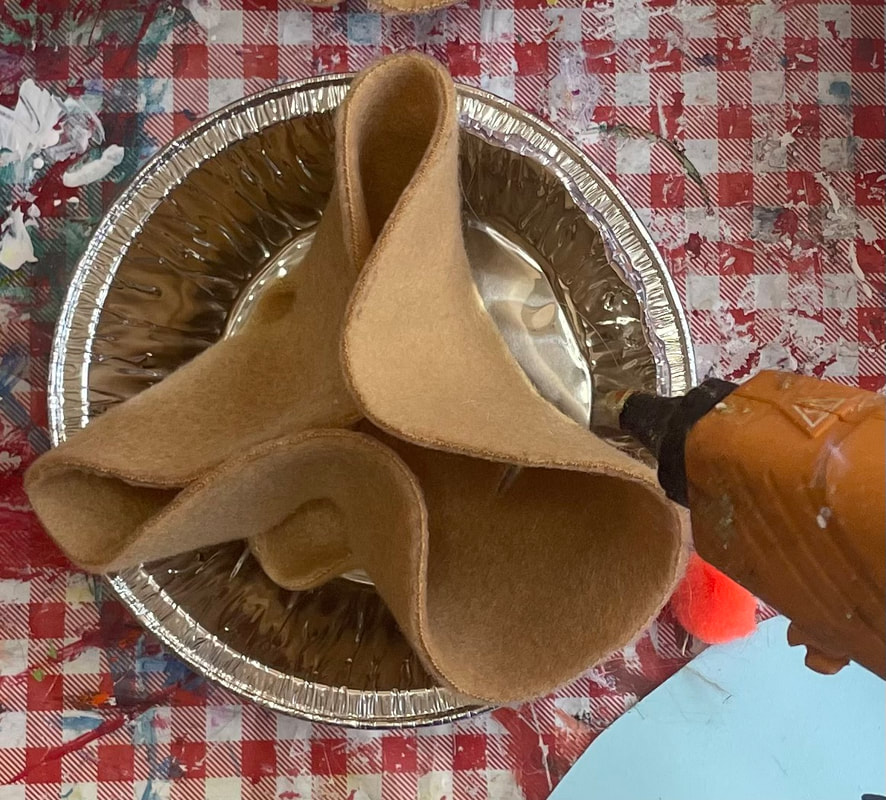
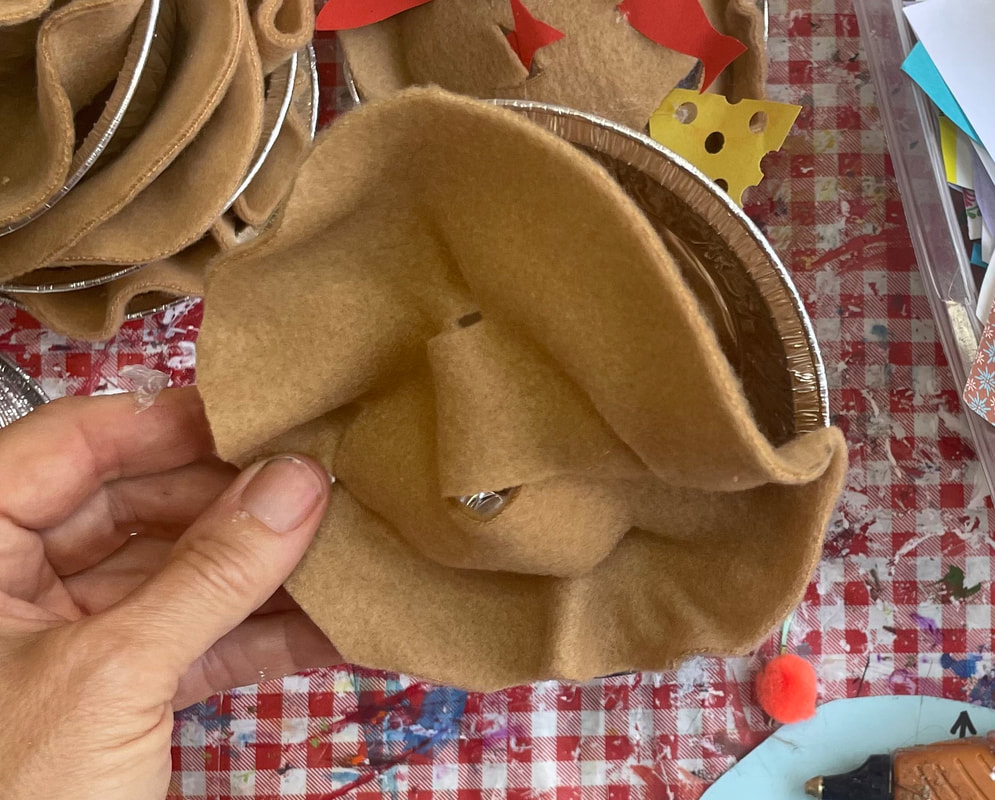
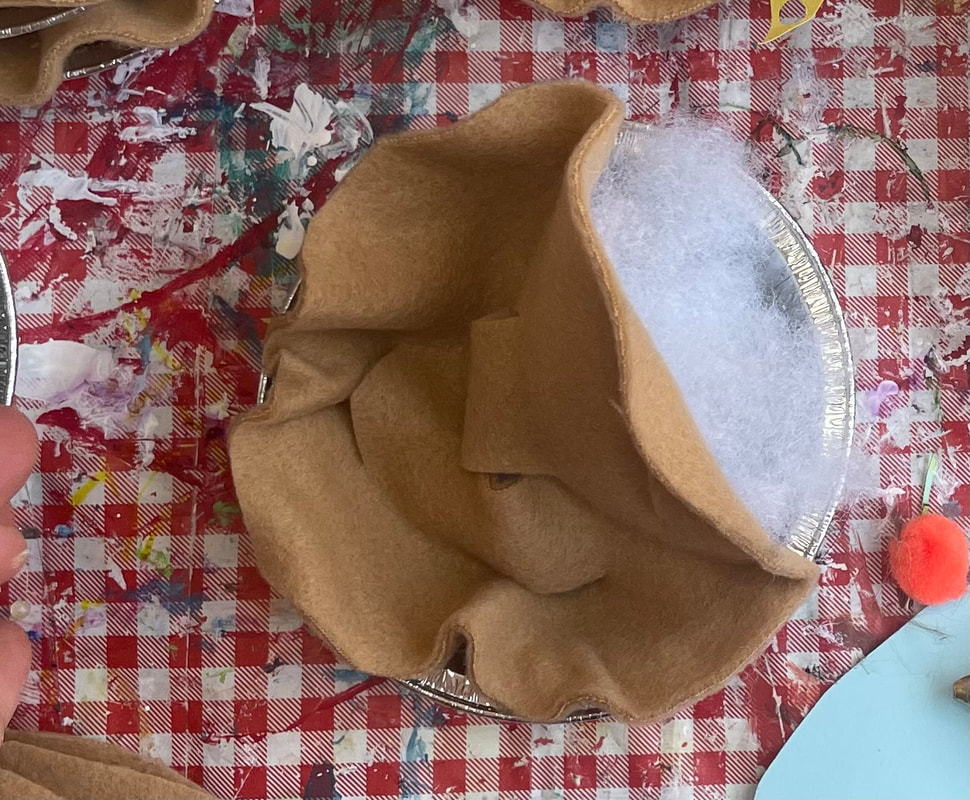
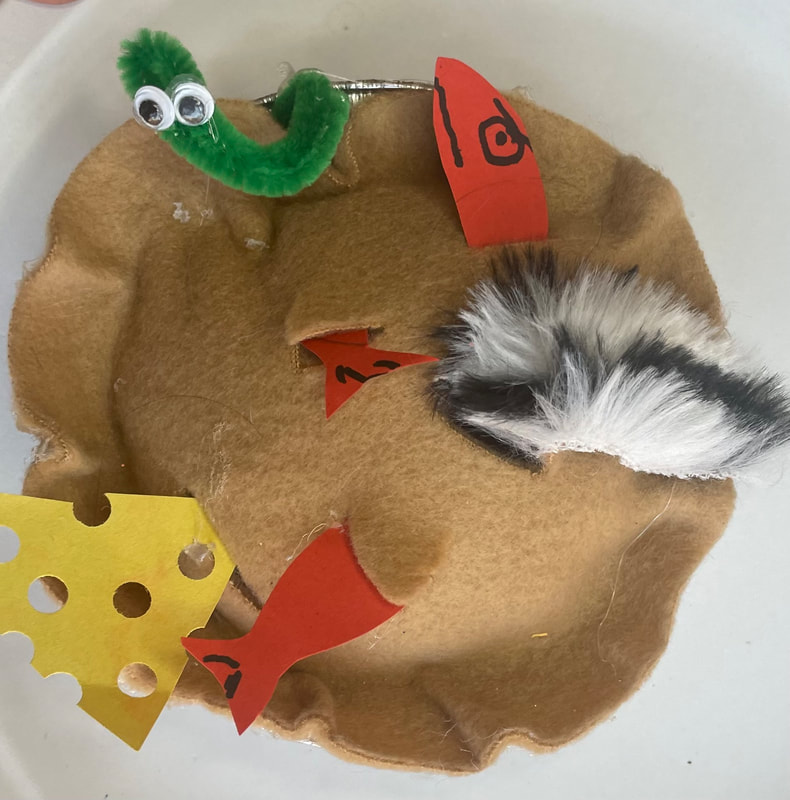
Celebrate the penultimate trifecta of art, poetry, and pie with these soft sculptures inspired by former children's poet laureate of the U.S. Jack Prelutsky's perfectly hilarious poem, "Percy's Perfect Pies." I've done this with up to 22 students, grades K-5, at the beginning of the school year and it's about choicemaking, tacky glue & scissors skills, imagination, & silliness. I started by reciting the poem, which names 24 ludicrous pies (my faves: Possum Penguin Prickly Pear & Skunk Asparagus Supreme.) Then I provided kids with a tin with attached crust (leaving 1/3 of the circumference open for stuffing), stuffing fluff, and all the ingredients in small bins on their tables for merry, munchy mayhem. Tacky glue in small tubs applied with q-tips anchored most ingredients, with a few warm glue guns standing by for chaperoned use by grades 3rd and up. I sealed the crust with hot glue as everyone worked, and early finishers decorate a pie sign to identify the ingredients in their own personal perfect pie. Supplies: 5" tinfoil pie plates 6 1/4"-inch circles of a stretchy fabric like fleece (bought on sale!) & snipped in at least 5 places like real pie crust poly stuffing craft glue in small tubs (make your own by letting white glue sit outor a couple of days, stirring now and then) q-tips to apply glue warm glue gun & sticks Pie ingredients can include anything glueable with tacky glue (I do afix googly eyes to chenille stems with the warm glue gun, though) chenille stems googly eyes craft fur cotton balls (I used real cotton from an field down the road) feathers collage paper felt scraps q-tips twigs etc. Tools scissors (it's nice to have a pair of child-sized fabric scissors available for grades 3 + markers/colored pencils/crayons Prep Steps Below Photos 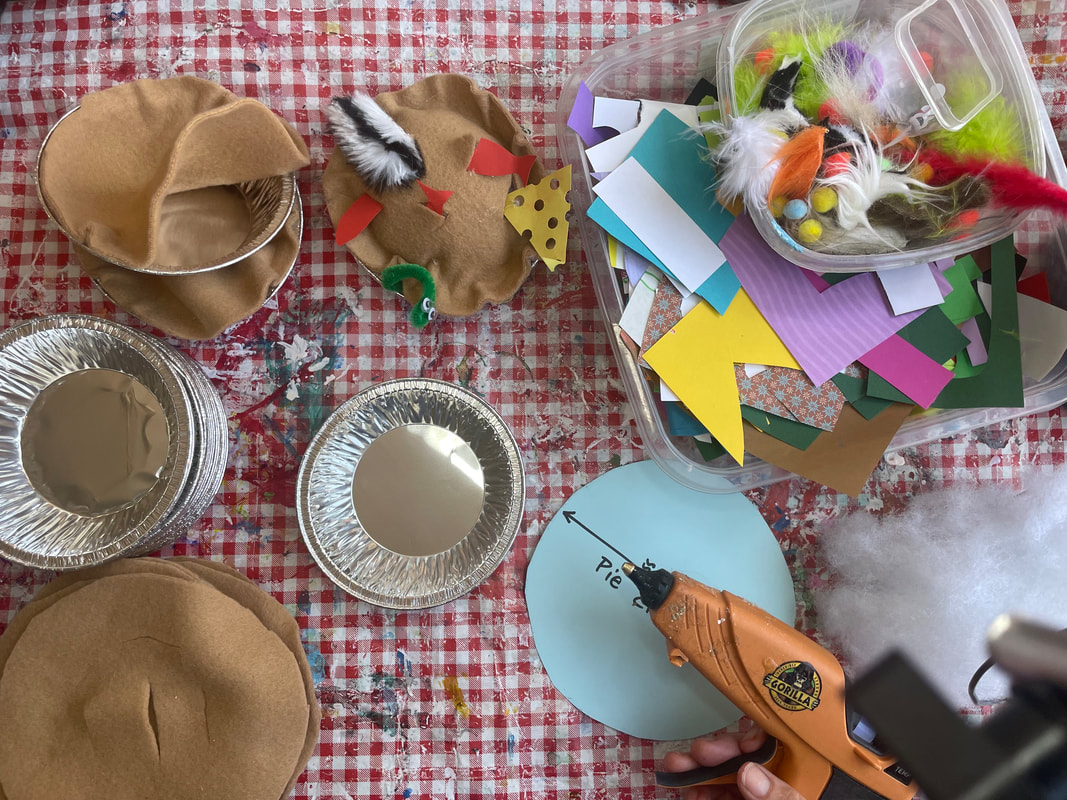
Prep:
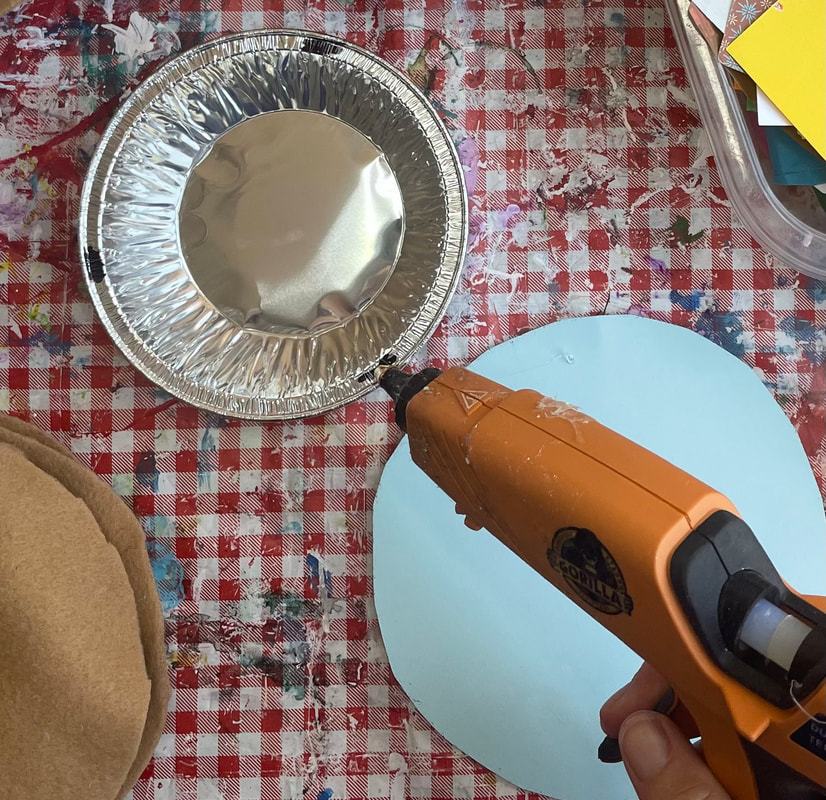
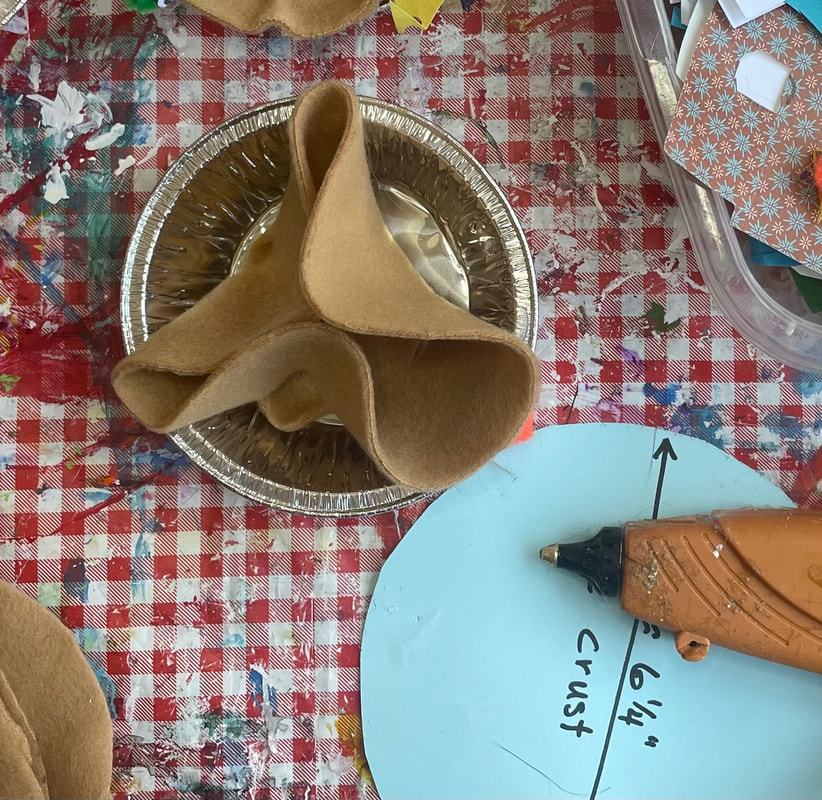
1. 6 1/4" rounds from stretchy fabric like on-sale fleece. Clip slits in each (grades 3-5 can clip their own with fabric scissors; easier to clip them all.) 2. Using hot glue, fix at 3 points around the edges, then glue 2/3 of the crust to edge of pie plate, leaving 1/3 open for stuffing. 3. cut an assortment of craft fur into small pieces and set in small containers. I set out on each table: -- craft glue in pots on plates with q-tips -- markers/crayons/scissors in a tri-compartment bin -- collage papers -- craft fur/feathers/oddments -- pie signs Poem Appetit! Artfully yours, Ms. Betsy
0 Comments
Inspired by Phoenix children's author Amanda Malik-Ahmadi's wonderful debut picture book, 10 Ballet Dancers, which is gorgeously illustrated by Kathrine Gutkovskiy, this project is great for the littlest dance and art enthusiasts, and can be embellished with yarn, ribbon, fabric, or painted paper--whatever you have on hand.
NEVER POKE A GILA MONSTER Never poke a Gila monster. Even though he's slow, pokin' at the bloke'll make him mad, not make him go. He’ll take a bite 'n hold on tight 'n casually chew. He'll slowly grind his poison jaws and this is what you’ll do: You’ll quickly wish you hadn’t poked a slowpoke, now, won't you? He'll dangle from an ankle or he'll hang off of a toe cuz a Gila will not kill ya, but he will not let ya go. Festooned with this reminder of your rudeness, you will scream, and wish you’d poked him only in a horrifying dream. So if you see a Gila, let him go his own slow way. Who am I to tell ya? Why, I'm ol’ Nine-Finger Jay. --Betsy Andrews Etchart About this poem: I live in the Sonoran Desert, one of the only places in the world where Gila monsters can be found. But they don't WANT to be found. These Halloween-themed lizards are nocturnal, which keeps them out of the hot sun. In over ten years, I've only come across ONE in the wild. And no, I didn't touch it! Everything about Gilas is adapted to a hot, dry environment, from their burrow-dwelling lifestyle to their big bladders that help retain water to their fat-storing tails that provide energy when food is scarce. They eat small mammals, birds, other lizards, and eggs, and their many sharp teeth angle backwards, so once they get ahold of something, letting go isn't really an option. Oh, and they conserve energy by moving veeerrrrryyyyy sssllllloooowwwllllyyyyy. I started thinking about what might happen if someone poked one to make it go faster, and this poem came along. Slowly. For more info on these slow-moving monsters, go to Arizona-Sonora Desert Museum Gila monster page.
|
|||||||||||||||||||
 RSS Feed